Professional Cabinet Hardware Installation In Boise
Cabinet hardware installation sounds simple until you stand in a kitchen and see doors with knobs hung at slightly different heights, or drawers where pulls drift left and right across…
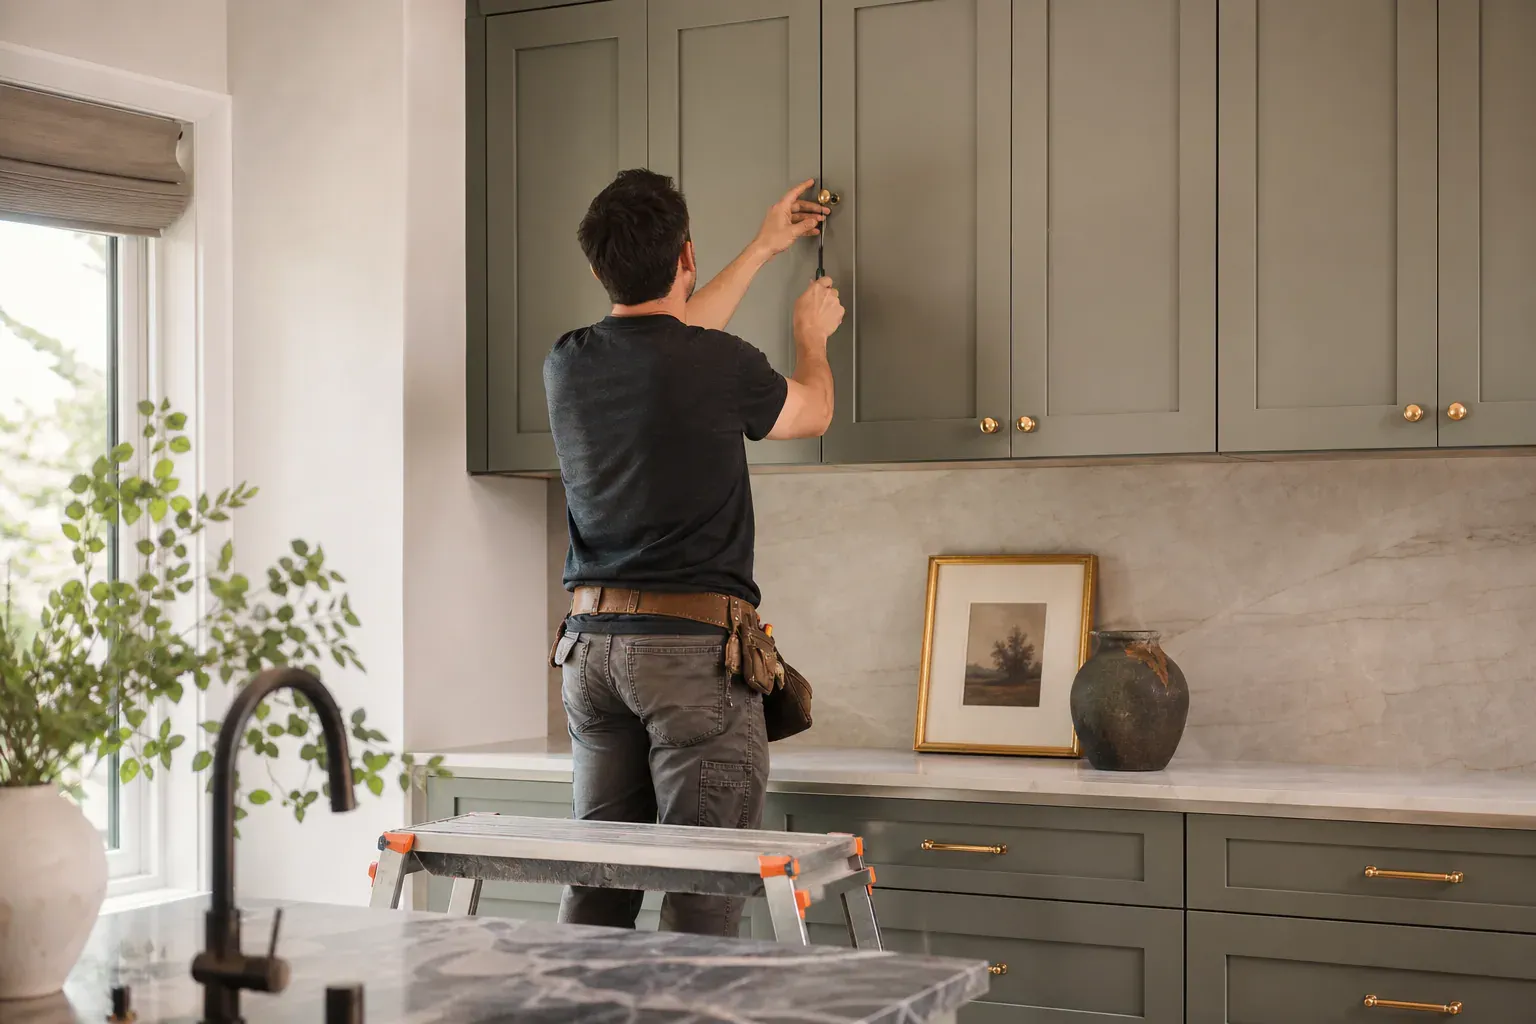
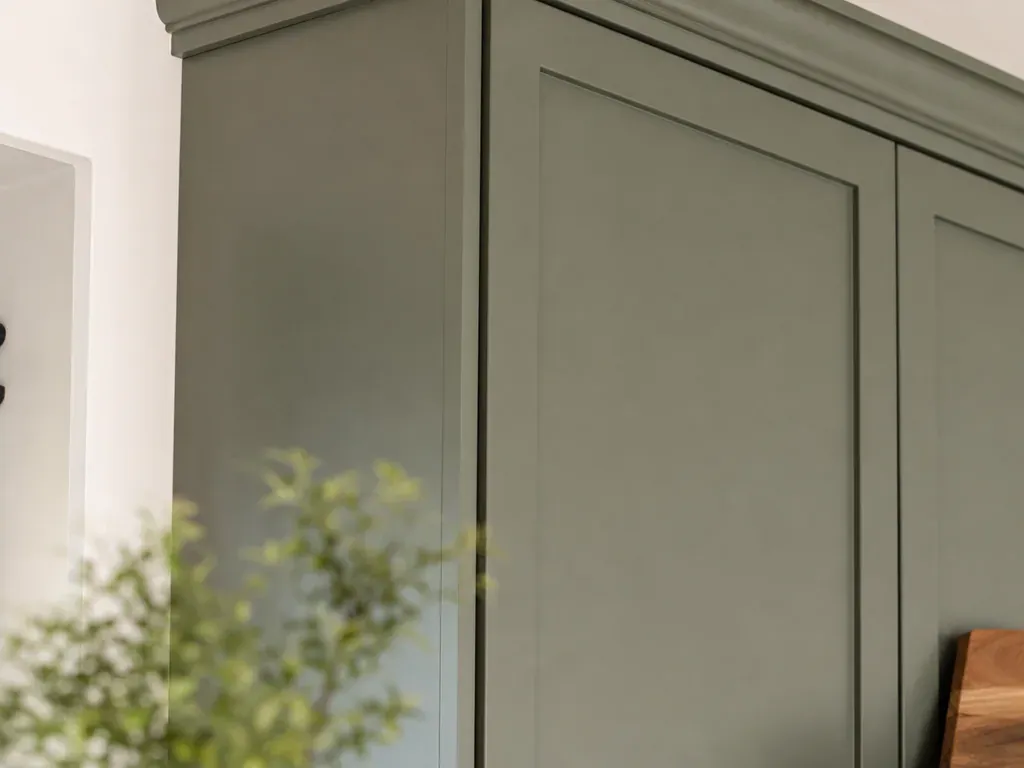
Boise Custom Cabinets provides cabinet hardware installation, hardware replacement, and hardware repositioning for kitchen remodels, new construction, and cabinet refreshes across Boise, ID. We install cabinet knobs, pulls, and specialty hardware on face-frame and frameless cabinets using jig-based placement and pilot hole drilling that keeps every door and drawer perfectly aligned, not eyeballed and off.
Cabinet hardware installation sounds simple until you stand in a kitchen and see doors with knobs hung at slightly different heights, or drawers where pulls drift left and right across their fronts. That inconsistency is the most common failure point in DIY hardware work. When one person marks holes by hand on twenty cabinet doors, small measurement errors and hand-eye drift stack up. By door six, the run looks sloppy. By door twelve, the eye catches it immediately.
Professional installation eliminates that drift. We use a hardware template and jig system that registers off the door edge and top rail of each cabinet, so the placement stays identical whether we're working on the first upper cabinet in a kitchen or the last base cabinet near the dishwasher. The jig holds the drill bit perpendicular to the surface, prevents the bit from walking, and marks the exact center point where the hole needs to go. Once the jig is positioned and clamped, drilling takes seconds. Multiply that across a fifty-door kitchen, and a template-based approach cuts installation time in half while eliminating placement errors.
Cabinet hardware serves three functions: it holds doors and drawers shut against the frame, it gives the hand a grip point to open them, and it delivers the visual finish that ties the cabinet style together. A kitchen with cheap, poorly placed hardware looks cheap. A kitchen with high-quality hardware installed with precision looks intentional and built to last.
We handle hardware installation for new-build kitchens, kitchen remodels where existing cabinets get new hardware, and full cabinet replacements. We also install hardware on specialty applications like glass-front upper cabinets, open shelving, and display cabinets where access and line-of-sight matter more than on standard closed cabinetry.
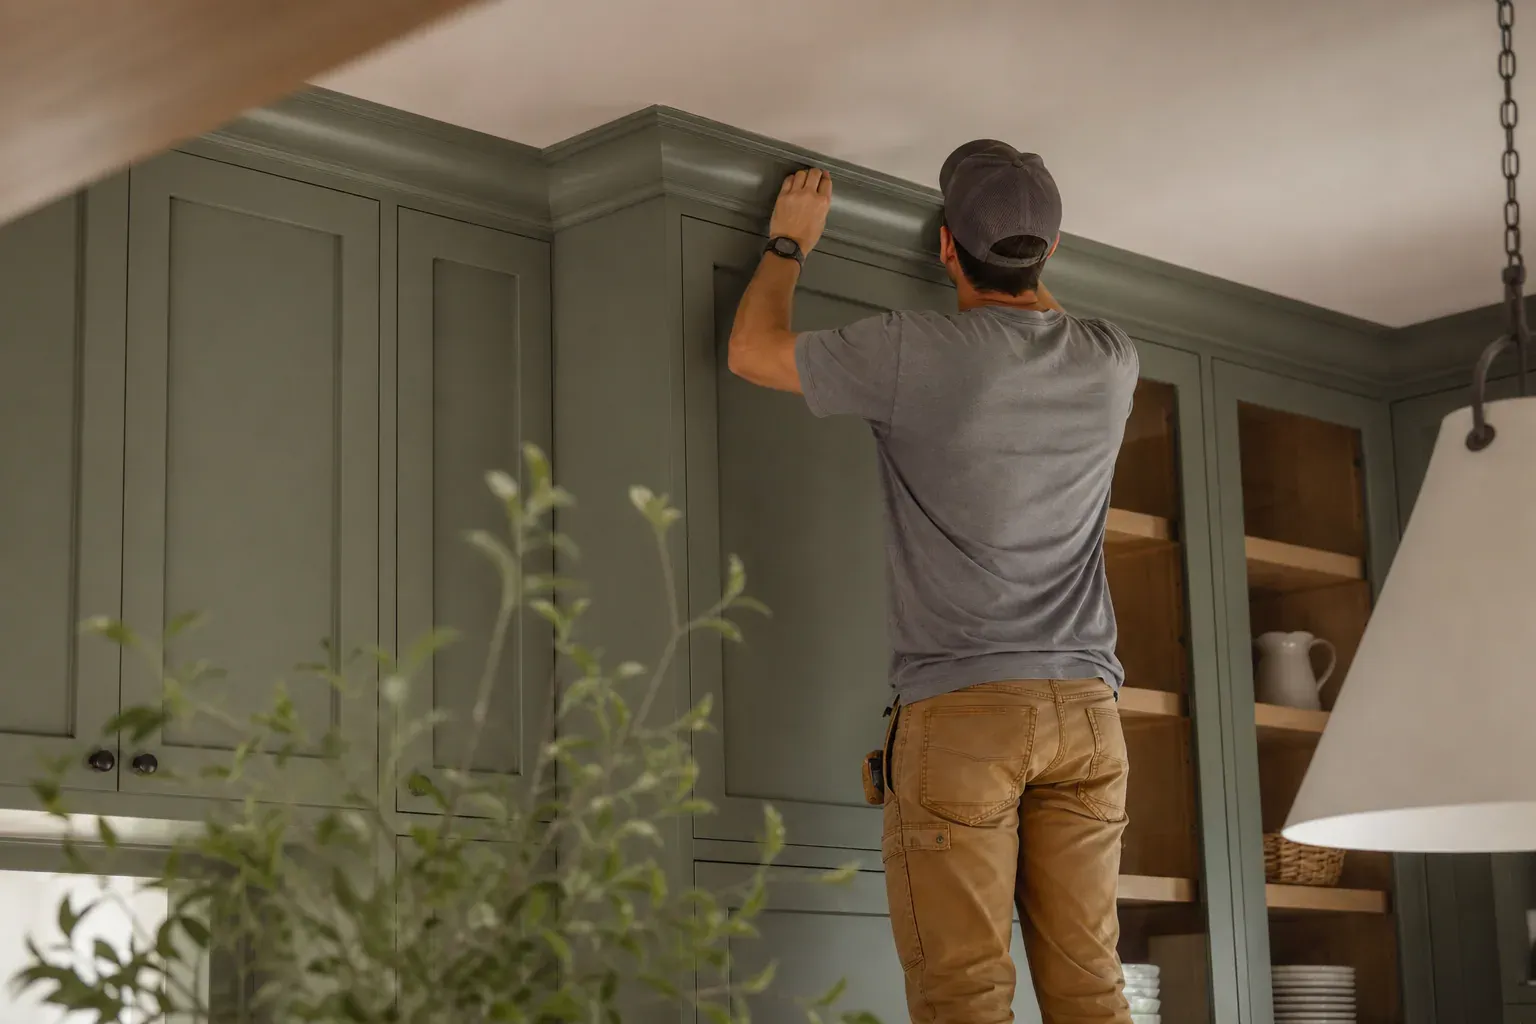
Cabinet knobs, cabinet pulls, and cup pulls are not interchangeable. Each type has a functional and aesthetic purpose.
Cabinet knobs are single-point grips that work best on doors and small drawers. They require only one hole per application and stick out less far from the surface than pulls do, which is helpful on cabinet doors in narrow hallways or kitchens where swing clearance is tight. A knob typically suits a door that is 16 to 24 inches wide. For wider drawers or doors, a single knob feels awkward to grab because your hand has to twist at an angle to open it.
Cabinet pulls are two-point grips with a screw hole at each end of the handle. They span wider than knobs and sit proud of the surface, which makes them easier to grab, especially when your hands are wet or soapy. Pulls suit drawers wider than about 18 inches and wider cabinet doors. The pull length is generally chosen at roughly one-third the width of the drawer front. A 24-inch-wide drawer typically gets a 7 or 8-inch pull; a 30-inch drawer gets a 10 or 12-inch pull. That ratio keeps the hardware visually balanced and proportional. Cabinet pull sizing matters for both function and appearance—a pull that is too short looks insignificant, while one that is too long looks out of scale relative to the drawer width.
Cup pulls are recessed grips that tuck into the face of the cabinet door or drawer, creating a clean, shadow-lined look. Cup pulls suit face-frame cabinets and traditional or transitional styles. They require a larger diameter hole than a knob or pull—typically 1.25 inches to 1.5 inches—and a shallow recess routed into the door face. Frameless cabinets rarely get cup pulls because the edge of a frameless door sits flush against the cabinet box, and a recessed grip cannot be reached properly.
Hardware style selection also drives placement choices. Traditional cabinet hardware—heavy brass knobs, ornate pulls, antique bronze finishes—pairs with face-frame cabinets and shaker-style or raised-panel door designs. Contemporary hardware—minimalist pulls in stainless steel or brushed nickel, geometric knobs—suits frameless cabinets and flat-panel doors.
The distance between the two screw holes on a two-point pull is stamped on the hardware package and is non-negotiable. If you drill holes 3 inches apart but the pull has a 3.5-inch spacing, the screw holes will not line up and you are left with misdrilled holes and a ruined door.
We measure pull spacing by placing the pull itself against the door at the intended location and marking the two screw points with a pencil. That pencil mark is then transferred to the hardware template so the jig holes align perfectly. Some jobs use a template with pre-drilled holes at the correct spacing, but custom hardware or non-standard spacing still requires hand measurement and custom jig positioning.
The distance from the top rail of a door or drawer to the center point of a knob is called the drop measurement. On upper cabinet doors, a standard drop is 2-3/8 inches down from the top edge of the door frame. On drawers, drop is measured consistently so the line of knobs or pulls creates a visual rhythm down the cabinet face. If upper cabinet doors have knobs at 2-3/8 inches but the first drawer is 4 inches below the door, the eye catches the jump. A consistent drop of 2-3/8 inches or 2-5/8 inches across all doors and drawers in a run creates visual harmony and signals careful workmanship.
Drawer pulls typically need higher clearance from the drawer edge than knobs do. A pull that sits too close to the bottom edge of a drawer can interfere with closing or opening, especially on shallow-depth drawers. We maintain at least 1.5 inches of clearance between a pull's lower fastening point and the bottom edge of the drawer front.
When a cabinet layout includes both upper doors and multiple drawers, we establish a single drop standard and apply it consistently across the run. If visual balance requires adjusting drop slightly on a specific drawer to avoid placing hardware too close to a drawer edge, we do that intentionally and mark it in the job plan.
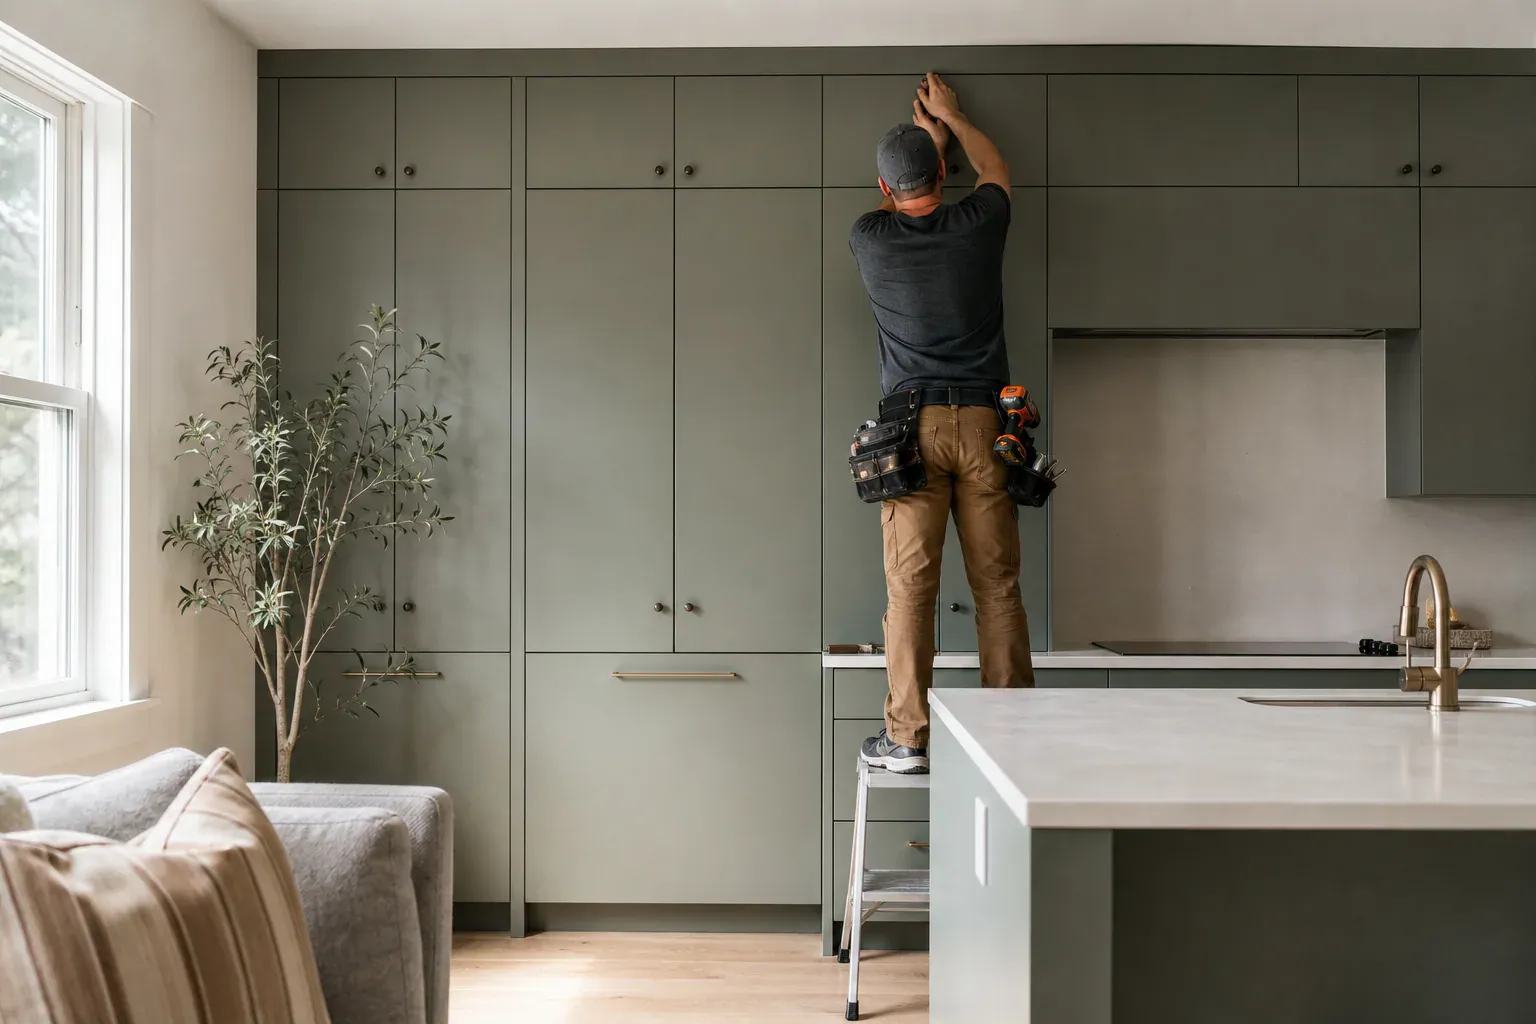
A hardware template or jig is a sheet of material—typically wood, plastic, or metal—with pre-drilled holes or holes marked at exact spacing intervals. The template is positioned and clamped on each cabinet door or drawer face so that the pre-drilled holes align with the intended screw location. The drill bit goes through the template hole, which guides the bit and keeps it perpendicular to the surface. Without a template, the installer is eyeballing drill angle, which creates angled holes, misaligned hardware, or a drill bit that wanders sideways across the surface.
Hardware template usage begins with creating the master template. We measure a reference cabinet door or drawer, mark the spacing and drop points on the template material, drill the holes, and test the fit with an actual pull or knob to confirm accuracy. That template then gets used on every subsequent door or drawer in the job. If a kitchen has fifty cabinet doors, the template saves fifty individual measurements.
The template is positioned on each door by registering it off the top edge of the door or drawer and the leading edge closest to the room. A door is clamped to a work surface, the template is aligned using a straightedge, and then a clamp or hold-down bracket secures the template in place. The drill bit size is set for the specific hardware being installed—typically a 5/64-inch or 3/16-inch bit—and the hole is drilled through the template into the door face.
Painter's tape applied over the drill point before positioning the template prevents finish chipping on painted or stained doors. The tape gives the drill bit a smooth surface to grip, slows the bit slightly, and prevents tearout. Without painter's tape, a fast-spinning drill bit can splinter paint or wood fibers around the hole, creating a rough entrance that hardware screws sit against unevenly.
On face-frame cabinets, the template registers off both the top rail and the vertical stile so placement is measured from a fixed point and stays consistent whether the doors are slightly bowed or the cabinet boxes have minor variations. On frameless cabinet doors, the template registers off the top edge and one side edge, since frameless doors align purely to the cabinet box edges. The clamping pressure is consistent across the run so the template does not shift during drilling.
After drilling, the template is removed and the next door or drawer is prepared. This jig-based process ensures that hardware placement stays identical across dozens of cabinet components without re-measuring, re-marking, or eyeballing each hole.
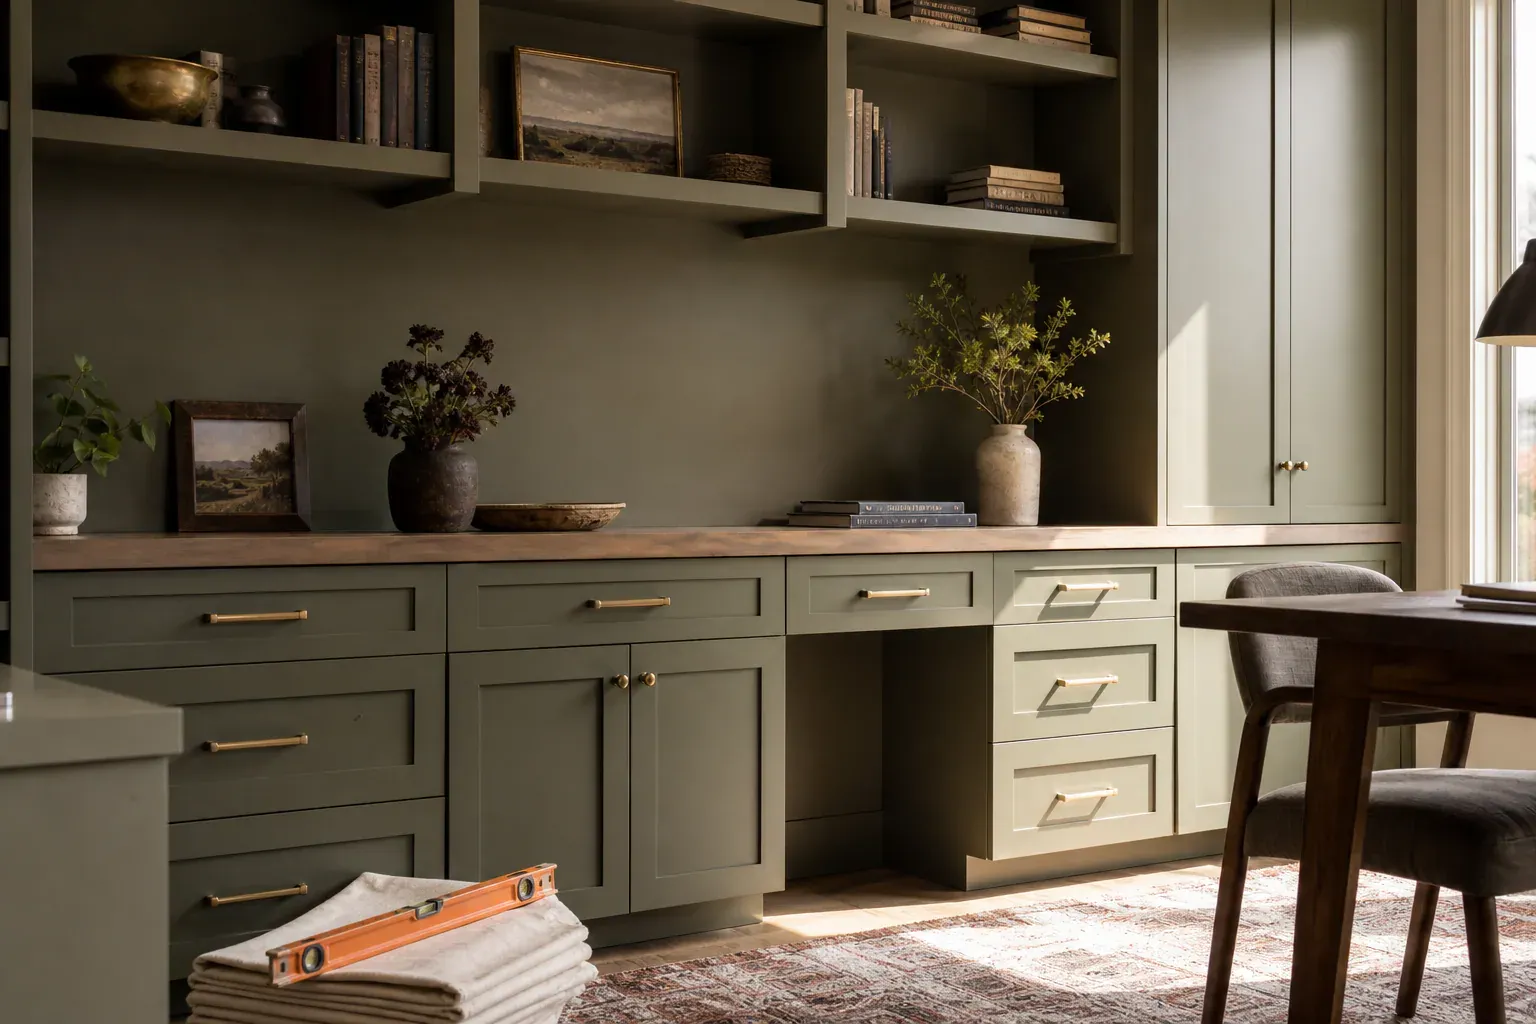
Drilling a clean, splinter-free hole in cabinet door material requires the correct drill bit size, technique, and surface preparation.
A 5/64-inch drill bit is standard for pilot holes on cabinet knobs and smaller hardware screws. A 3/16-inch drill bit suits standard cabinet pull bolts and larger fasteners. The bit size should be slightly smaller than the screw shaft so the wood fibers grip the screw threads. If the bit is too large, the screw will spin in the hole without gripping; if it is too small, driving the screw strips the threads out of the wood.
Pilot hole drilling is the first step. A small hole goes in first to establish the exact location and prevent the larger bit from wandering. Once the pilot hole is set, a second drilling with the full-size bit creates the final hole. This two-step process handles wood grain variations better than a single-bit operation.
Wood splintering prevention starts with painter's tape placed over the drill point. The tape covers the finish and the wood grain, giving the bit a smooth surface and slowing the cutting action slightly. Without tape, the bit catches wood fibers at the surface and tears them upward, leaving a rough, splintered hole edge.
Blowout is splintering that happens on the backside of the hole—the side facing away from the drill. When the bit exits the wood, it can tear a divot out of the back surface if there is no backing. We prevent blowout by drilling from the show face only partway through, then finishing the hole from the backside with a smaller bit. This approach keeps the exit side clean and splinter-free.
Screw length selection matters for hardware durability. If a screw is too short, it does not grip into the cabinet material firmly and the hardware can pull loose over time, especially on wide drawers where the pull gets heavy use. If a screw is too long, it pokes through the back of the door, creating a snag hazard or a sharp point. Standard cabinet hardware screws are typically 0.75 inches to 1.0 inch long, depending on the hardware type and the cabinet door thickness.
Breakaway screws are bolts with a designed fracture point. The installer drives the screw until the fastening portion is tight, then the excess shaft breaks off at the fracture point, leaving a finished-length bolt in the door. Breakaway screws eliminate the need to stock every hardware screw length variation; one screw type handles multiple thickness variations across a large job.
Driving screws without stripping the threads requires moderate pressure and a correctly fitted Phillips head screwdriver or power drill bit. Pressing too hard forces the screwdriver out of the screw slot, which enlarges the slot and eventually makes the fastener impossible to drive. A power drill set to moderate speed drives screws faster than hand-driving but requires attention to avoid over-driving.
Hardware drilling and alignment accuracy depends on secure template clamping and proper drill press technique. A template that shifts during drilling throws the hole off-center or at an angle. We use at least two clamps per template positioning to eliminate movement. The drill bit itself should enter the wood straight and perpendicular; angled drilling produces enlarged holes and misaligned hardware. A cordless drill or power driver is held straight by sighting along two perpendicular axes—viewing the bit from the front and from the side to verify straight entry before contact.
If a hole is misdrilled or an old hole from previous hardware needs to be filled, wood filler is applied, sanded smooth, and then the area is touch-painted or stained to match the door finish. Small gaps and divots disappear under filler; large misdrilled holes may need a wood dowel glued in place before filler is applied, so the repair is structural as well as cosmetic.
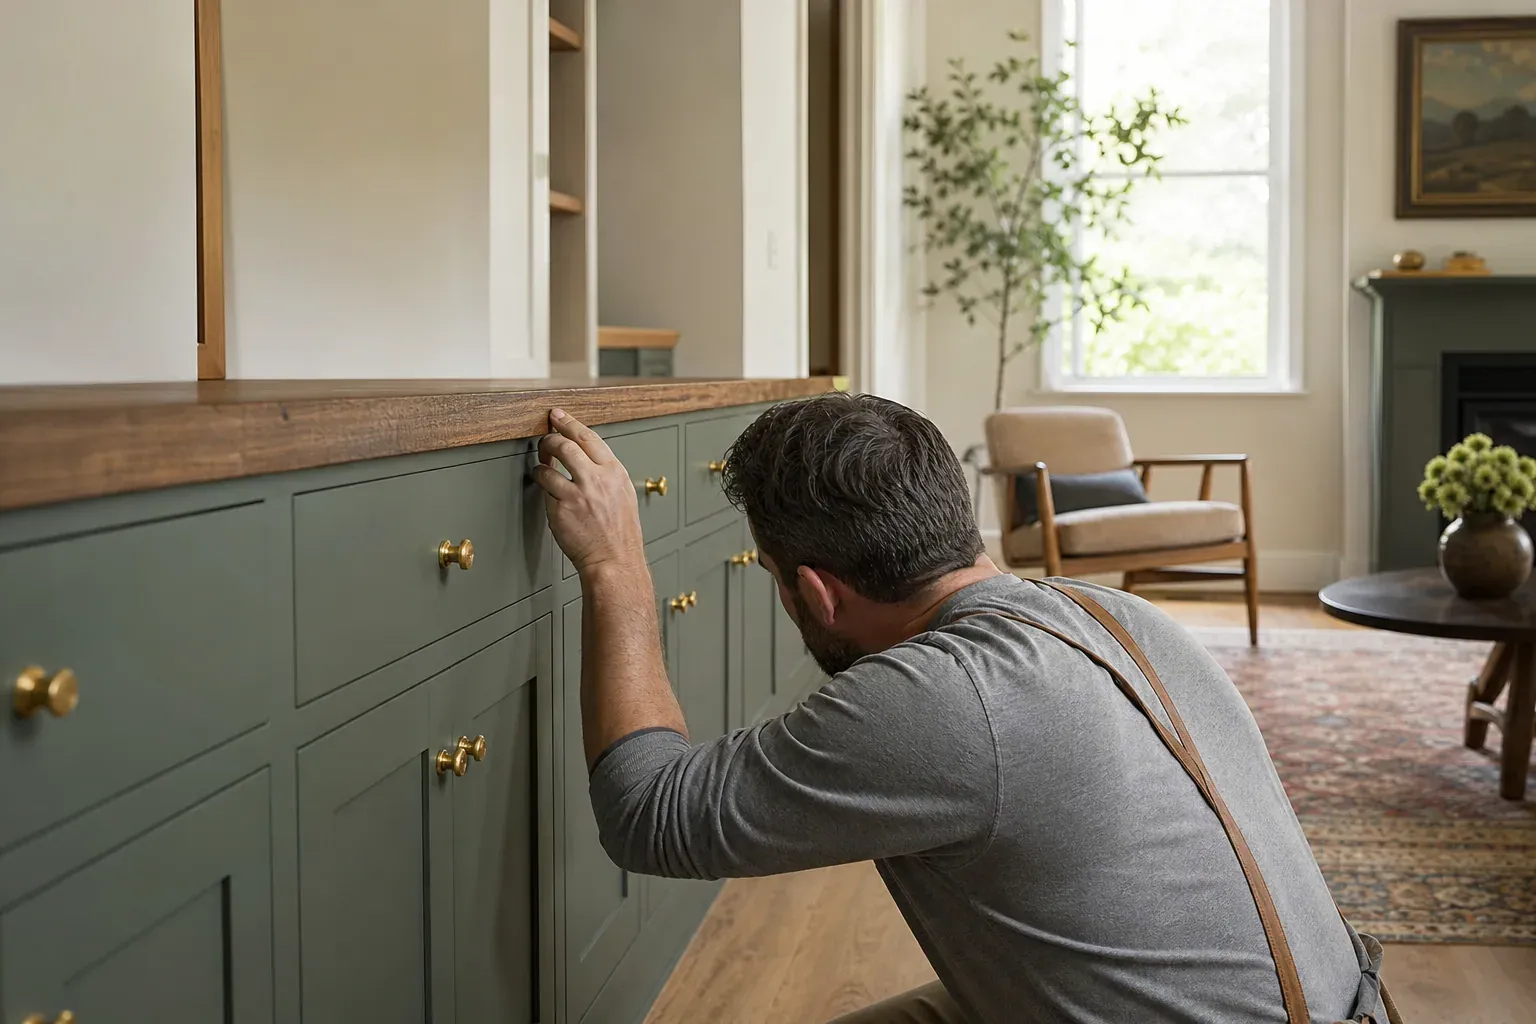
Hardware material selection affects durability, aesthetics, and maintenance. Common materials include brass, bronze, stainless steel, and pewter in various finish styles.
Brass hardware develops a patina over time and suits traditional, transitional, and eclectic kitchen styles. Polished brass is shiny and reflective; brushed brass is matte. Brass hardware requires occasional polishing to maintain shine, or it can be left to patina naturally, which some homeowners prefer for its aged character.
Bronze hardware—typically oil-rubbed bronze or dark bronze—suits rustic, farmhouse, and traditional cabinetry. Bronze patina finishes develop deeper color and character over months and years of use. Bronze hardware pairs well with open shelving, glass-front cabinets, and shaker-style doors.
Stainless steel hardware is durable, corrosion-resistant, and suits contemporary and modern kitchens. Stainless steel in a brushed or satin finish hides fingerprints better than polished finishes. Stainless steel hardware is low-maintenance and does not patina or tarnish.
Pewter hardware sits aesthetically between brass and bronze, offering a neutral gray tone that works with both warm and cool cabinet finishes. Pewter is durable and develops subtle patina over time.
Brushed finishes hide fingerprints and daily wear marks better than polished finishes in high-use kitchens. A brushed or matte surface diffuses light, so dust, handprints, and water spots are less visible. Polished finishes are reflective and show every mark, requiring more frequent cleaning.
Patina finishes on bronze, brass, or pewter hardware develop character and aged appearance over time. The patina is a thin oxidation layer that protects the underlying metal. Patina finishes suit homeowners who prefer the look of aged or vintage hardware and do not mind that appearance changing over years of use.
Hardware finish choices should complement the cabinet door style and the overall kitchen aesthetic. Contemporary frameless cabinets typically get stainless steel or brushed nickel-finish hardware. Traditional face-frame cabinets pair with brass, bronze, or pewter hardware. Transitional kitchens often use brushed stainless or satin brass to bridge traditional and contemporary styles.
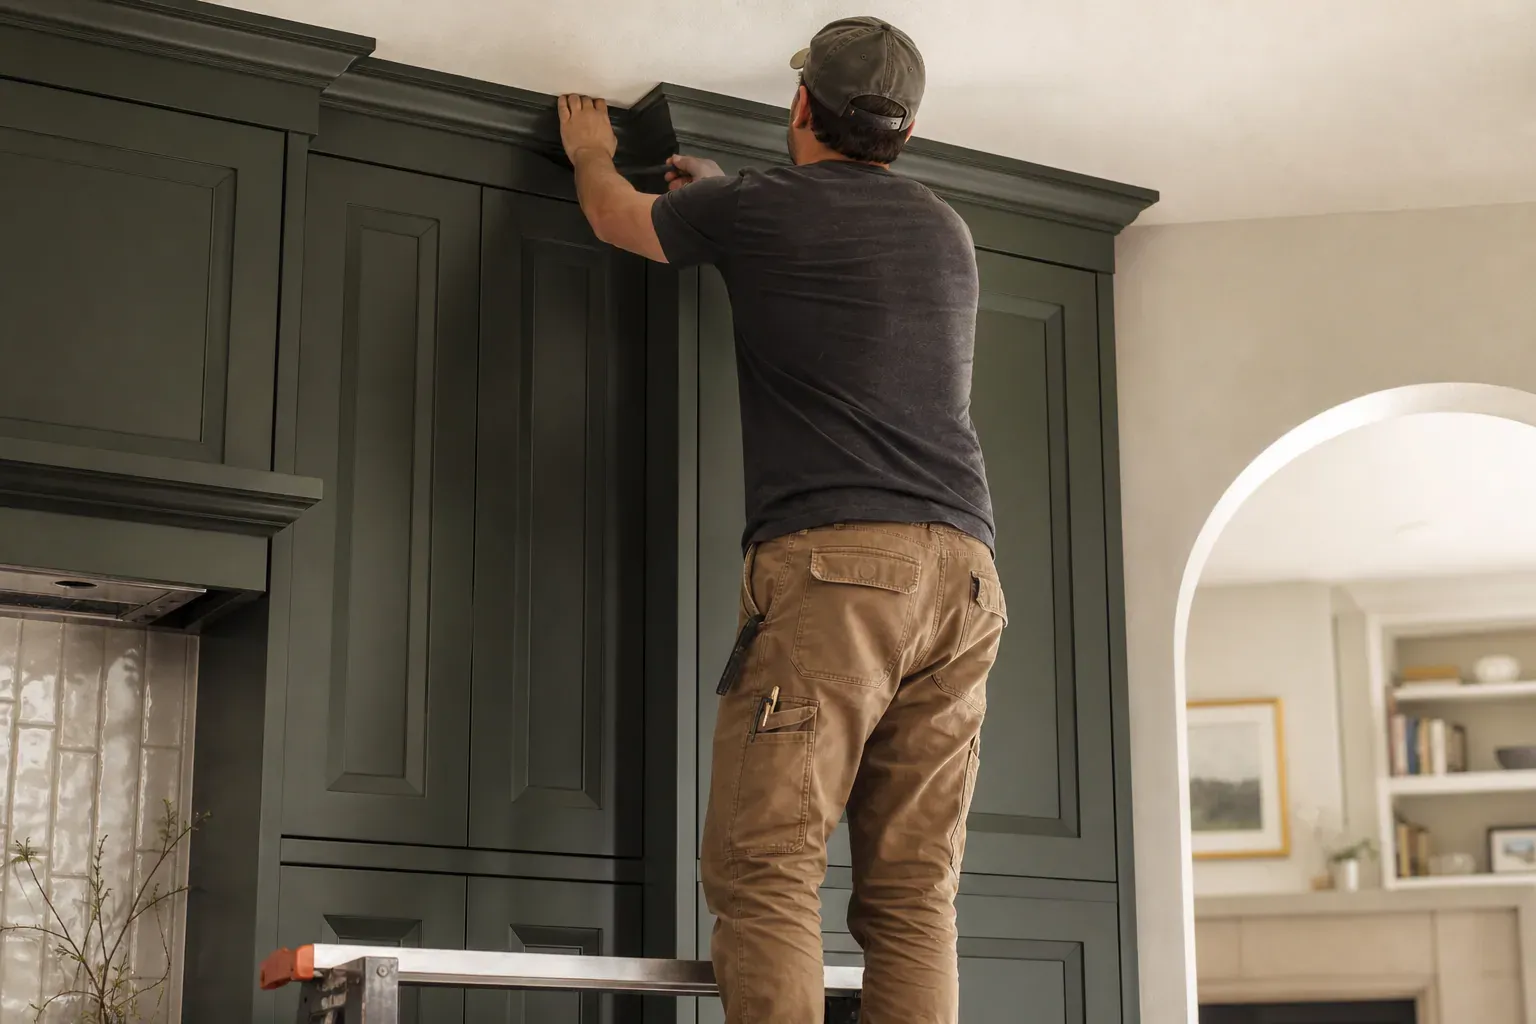
Face-frame cabinets have a perimeter frame of solid wood around the cabinet box opening. The frame sits proud of the cabinet interior and provides a surface for hardware mounting. Hardware mounting on face-frame cabinets is straightforward because the door overlays the frame slightly, and the frame itself backs the door and supports the fasteners. A knob or pull screw goes through the door and grips into the solid frame material.
Frameless cabinets have no perimeter frame—the door edges sit flush or nearly flush against the cabinet box sides. Hardware mounting on frameless doors requires fasteners long enough to grip into the cabinet side panels, or requires a backing plate screwed inside the cabinet to receive the hardware fasteners. Frameless hardware installation requires extra care to ensure screws do not poke through the inside of the cabinet box or strike interior components like drawer slides or shelves.
The template positioning differs between frame-frame and frameless installation. On a face-frame cabinet, the template registers off the top rail and the vertical stile of the frame, and the fastener screws into solid frame material. On a frameless cabinet, the template registers off the top edge of the door itself and one side edge, and the screw reaches back to grip the cabinet side panel material. Frameless cabinet hardware placement requires depth measurement to confirm screw length is appropriate for the cabinet box thickness.
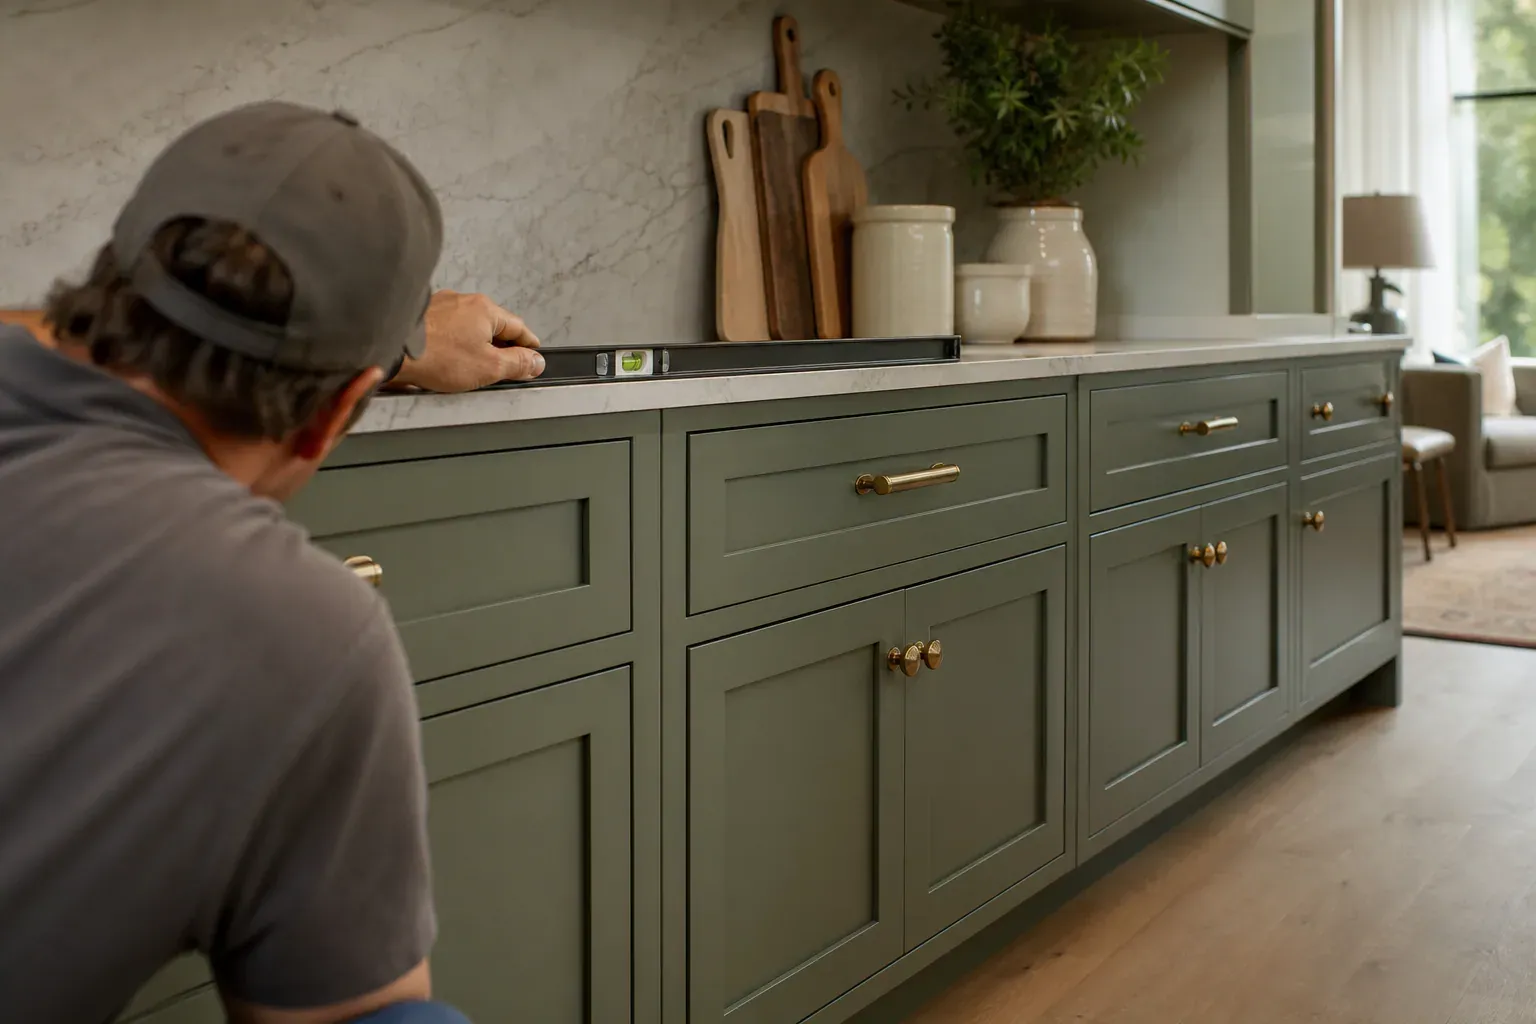
Glass-front and display cabinets introduce unique challenges for hardware installation that differ from standard closed cabinetry. The installation process is the same—measure, mark, drill, drive screws—but the consequences of errors are higher because the glass and the hardware are often the most visible elements of the cabinet.
On a glass-front upper cabinet door, the hardware must be positioned so that a pull or knob sits comfortably in the hand without hitting the glass panel or interfering with sight lines into the cabinet. If the cabinet has a muntined glass design—a frame of vertical and horizontal divisions creating small glass panes—the hardware position must avoid drilling through muntins or coming too close to them.
Hardware jig positioning on glass doors requires extra care to avoid overdrilling toward the back side of the glass or into the muntins themselves. We use a glass-specific template that accounts for the glass panel location and the effective mounting area of the door. If a glass pane sits 0.75 inches from the surface of the door frame, a knob or pull must be mounted in the solid wood area above or below that pane. A drill bit that wanders or a template that shifts during clamping can easily crack glass or drill into a muntin, ruining the door.
Oversized or custom-forged statement hardware often has non-standard spacing that does not match stock templates. These pieces require hand measurement and custom jig creation. Leather pulls, oversized wrought-iron handles, or artisan-crafted hardware are measured individually for spacing, and a one-time template is created for that specific piece.
Heavier statement hardware may require longer screws or backing plates to prevent door sag over time. A 2-pound bronze pull on a 30-inch-wide drawer can load the door heavily if the mounting screws are not long enough to grip deep into the cabinet frame. A backing plate—a metal or wood reinforcement piece mounted inside the door—distributes the weight across a wider area and prevents the screws from slowly pulling free.
Custom cabinets with open shelving, floating shelves, or display-focused designs often get oversized or decorative hardware purely for visual impact, not daily functional use. These pieces are installed the same way—drilled, marked, fastened—but the placement may be driven more by visual balance than by ergonomic comfort. A decorative pull on an open shelving unit can be positioned to create a focal point or to echo the geometric rhythm of the shelves themselves.
Soft-close hardware on glass-front cabinets requires extra consideration. A soft-close hinge or damper system on a glass door moves slowly as it closes, which prevents slamming and breakage. The additional weight and friction of soft-close mechanisms can increase stress on the hardware mounting, so screws should be long enough and driven into solid material that can support the closing load. If the glass-front door uses a soft-close mechanism, we ensure the hardware fasteners are fully seated and torqued appropriately to avoid rocking or vibration that could stress the glass over time.
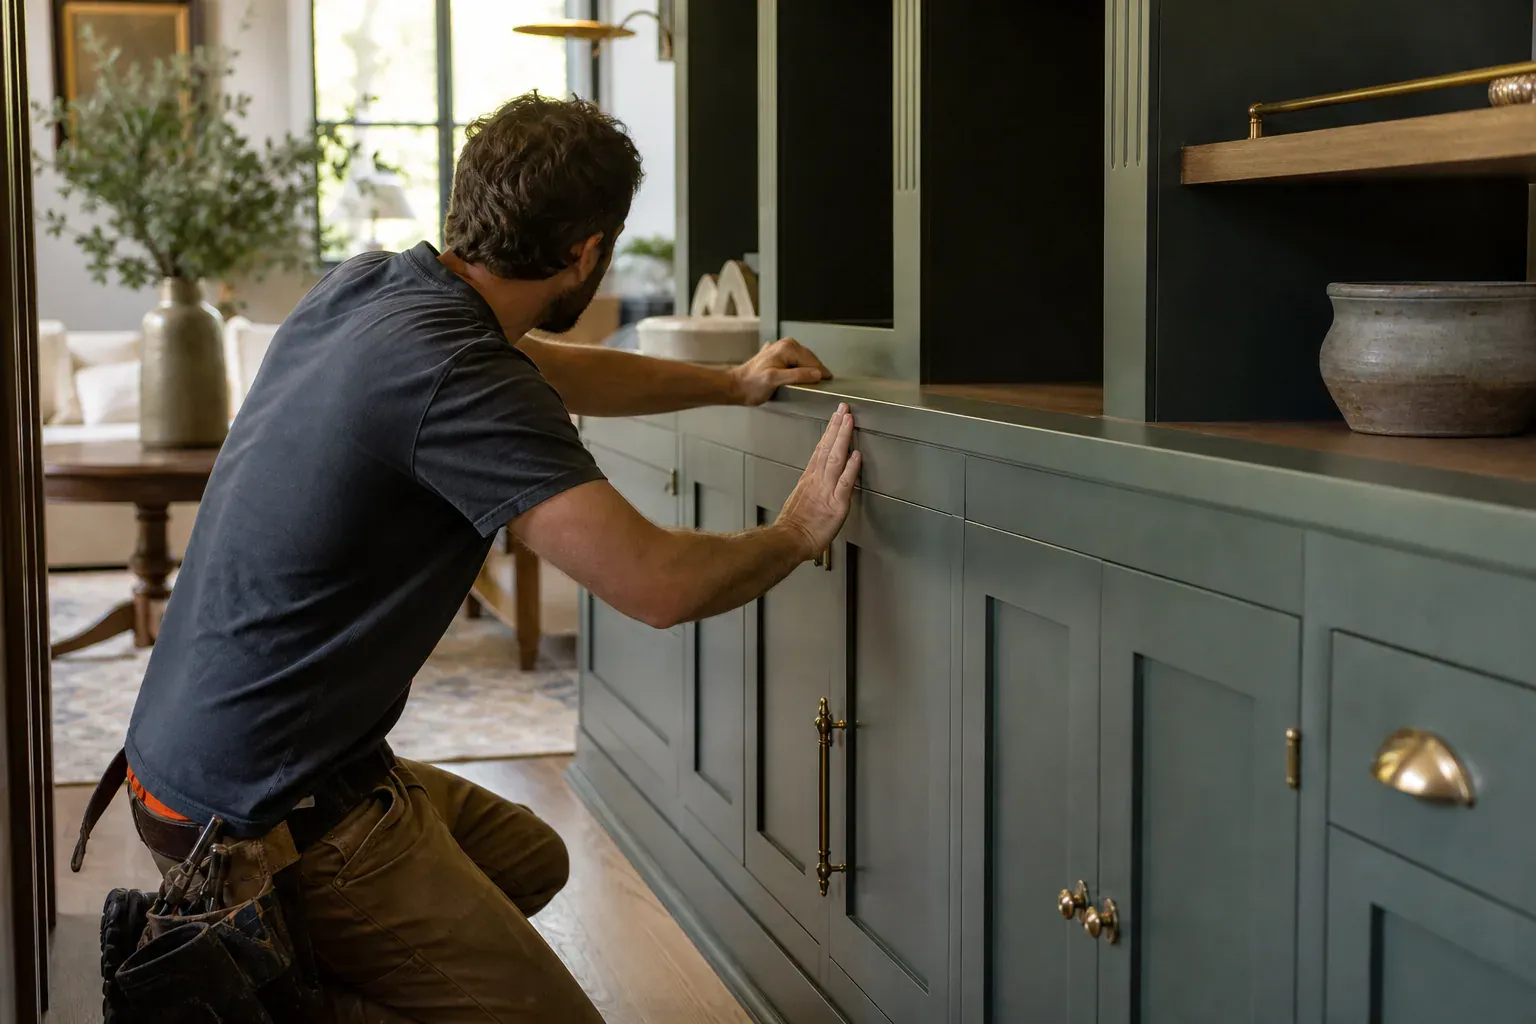
Kitchen remodels where existing cabinets stay in place but hardware is upgraded follow the same jig-based process as new installations, but they often involve filling old hardware holes before new hardware goes in. Old knobs or pulls leave holes that may not align with new hardware spacing, so those holes get filled with wood filler, sanded, and painted or stained to match the door finish before the new hardware jig is positioned.
If the cabinet doors or drawer fronts are painted as part of the remodel, we coordinate the final paint or stain coat with the hardware installation timing. New holes are drilled after the final finish coat is applied, so the finish edges around each hole are clean and match the surrounding surface. If holes are drilled before finishing, the edges of the hole collect primer and paint, and the screw heads can compress paint into the threads, making fastening difficult.
Hardware refresh jobs where homeowners want new knobs or pulls on existing cabinets sometimes benefit from repositioning hardware to a slightly different drop or spacing if the original placement was off-center or visually awkward. We assess whether the old holes are noticeable enough to require filling or whether new hardware will simply cover them. Large knobs typically cover small old holes; small knobs on doors with old large holes may require filler on the areas the new hardware does not cover.
Cabinet hardware installation sounds simple until you stand in a kitchen and see doors with knobs hung at slightly different heights, or drawers where pulls drift left and right across…
Cabinet knobs, cabinet pulls, and cup pulls are not interchangeable. Each type has a functional and aesthetic purpose.
The distance between the two screw holes on a two-point pull is stamped on the hardware package and is non-negotiable.
A hardware template or jig is a sheet of material—typically wood, plastic, or metal—with pre-drilled holes or holes marked at exact spacing intervals.
Drilling a clean, splinter-free hole in cabinet door material requires the correct drill bit size, technique, and surface preparation.
Hardware material selection affects durability, aesthetics, and maintenance. Common materials include brass, bronze, stainless steel, and pewter in various finish styles.
Why homeowners call us
Every custom cabinets job is scoped and priced in writing, so the number you approve is the number you pay. If something behind the wall changes the work, we stop and price it first.
You speak to the people doing the work, not a call centre, and cover certificates go to your building manager or general contractor on request.
Containment, floor protection and same-day debris removal on every interior job — the space stays usable while the work is going on.
Crews work Boise and the surrounding cities every week, so a walkthrough is usually available within the same week you call.
FAQ
Cabinet knobs are single-point grips suited to doors and small drawers; they require one hole and stick out less. Cabinet pulls are two-point grips that span wider and suit drawers over 18 inches; pull length is typically one-third the drawer width. Cup pulls are recessed grips for face-frame cabinets only. Match knobs to doors and small drawers, pulls to wide drawers, and cup pulls to traditional face-frame styles where a recessed look is preferred.
Place the pull itself against the door at the intended location and mark both screw points with a pencil. Transfer those marks to your hardware template or jig so the template holes align exactly. Always match the spacing stamped on the hardware package—mismatched spacing means new holes and a ruined door.
A 5/64-inch drill bit is standard for pilot holes on cabinet knobs and smaller screws. A 3/16-inch drill bit suits full-size holes for standard cabinet pull bolts. Bit size is slightly smaller than the screw shaft so wood fibers grip the threads. Use pilot holes first to prevent bit drift, then drill to full size. Painter's tape over the drill point prevents splintering.
Apply painter's tape over the intended drill point before drilling. The tape covers the finish and wood grain, giving the bit a smooth surface and slowing the cutting action. Drill from the show face partway through, then finish from the backside to prevent blowout splintering on the exit side. A 5/64-inch pilot hole prevents the larger bit from wandering and tearing grain.
Create a hardware template jig that registers off the top edge and one side edge of each door. Clamp the template in the same position on every door, drill through the template holes, and the hardware placement stays identical across the run. On face-frame cabinets, register off the top rail and vertical stile. On frameless cabinets, register off the top and side edges of the cabinet box itself.
Yes. Old holes are filled with wood filler, sanded smooth, and painted or stained to match the surrounding finish. New hardware can then be installed at a different location using a hardware jig to ensure accurate placement. If old holes are small and new hardware covers them, filling may not be necessary. Large gaps or multiple old holes in visible areas should be filled for a clean look.
Call (208) 555-0116 for a walkthrough, usually within the same week.